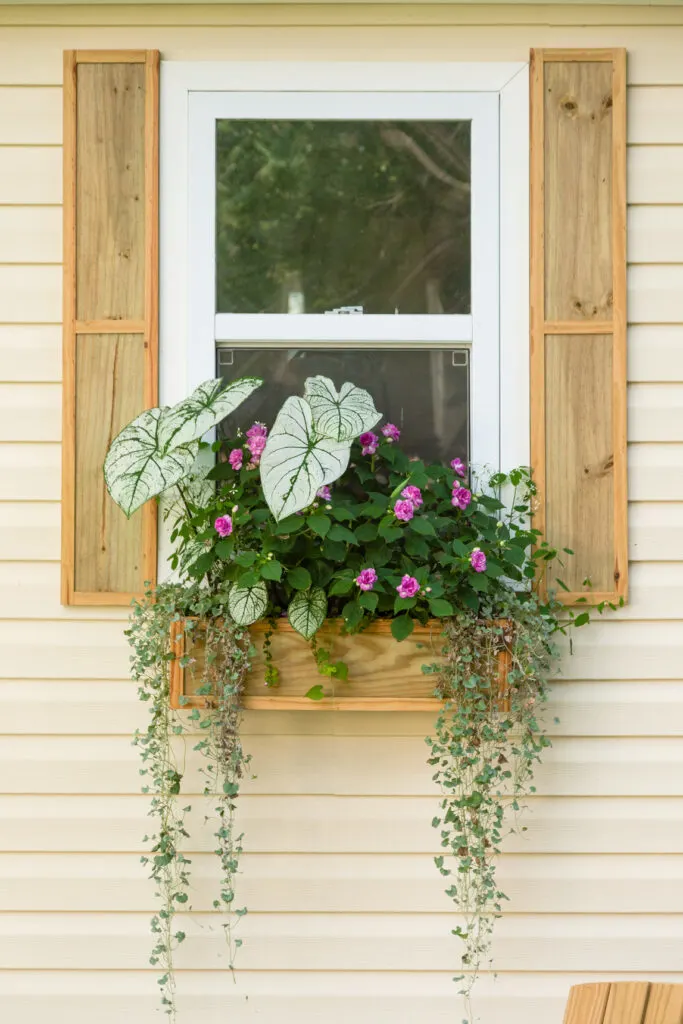
We built my studio in 2004, and now it needs an update. I knew adding some DIY shutters would transform my little cottage studio into a charming oasis. Additionally, shutters can add curb appeal, thus adding value to your home.

You can see in the photo below how the window appeared before the shutters and window flower box.
Window before window flower box and DIY wood shutters


This post may contain affiliate links. In other words, if you purchase from one of these links, I will make a small commission. However, you can rest assured you will not pay more for any products.
How to Build DIY Shutters
Types of Wood for Shutters
Lots of wood choices will work for shutters, but the key is to water seal or paint the wood so it will last. Building them yourself saves money as well as you can customize them to suit your style.
Wood choices:
- Cedar
- Cypress
- Pallet wood
- Pine
- Deck boards
Choosing the wood was straightforward since I wanted all my wooden yard accents and structures to coordinate. Therefore we will use the same wood we used to build our gorgeous trellis, solar lanterns, birdhouses, obelisk, and window flower boxes from pressure-treated deck boards.
Tools:
- Saw (skill saw, or chop saw)
- Table saw (this one is similar to the one I used)
- Nail gun (this is the one I used)
- Measuring tape
- Speed square
- Cordless drill (this is the one I used) and driver tip
- Paintbrush
Materials:
- 1 x 8 x 8 pressure treated
- 5/4 x 6 x 8 pressure treated (deck board)
- Trim wood screws
- Galvanized nails 1/2inch
- Exterior wood glue (this one is my favorite)
- Sandpaper 100 grit
- Water seal


Window Shutter lumber
Lumber Cuts for the DIY Shutters
You will need two cuts, 1 x 8 to length. 2 inches longer than the window trim.
Cut 5/4 board into ⅛ inch strips for the trim.


Mark the shutters cutting lines
Cutting Trim for the DIY Shutters
We used 5/4 x 6 x 8 pressure treated (deck board) for the DIY shutter trim. To make the trim boards, we cut 1/8″ slices along the length of the board.
Note: Another option for trim is to use 1/4″ X 1-1/2″ x 6′ pressured-treated pine lath (I found this item at Home Depot).


Cut trim boards
Assemble The Frames
Cut trim strips to length for the long edge and attach to the face flush with the edge with glue and a few nails.


Apply glue to trim pieces
To cut the trim board for the top and bottom of the shutter place one end against the side trim and mark the cut line.


Mark trim
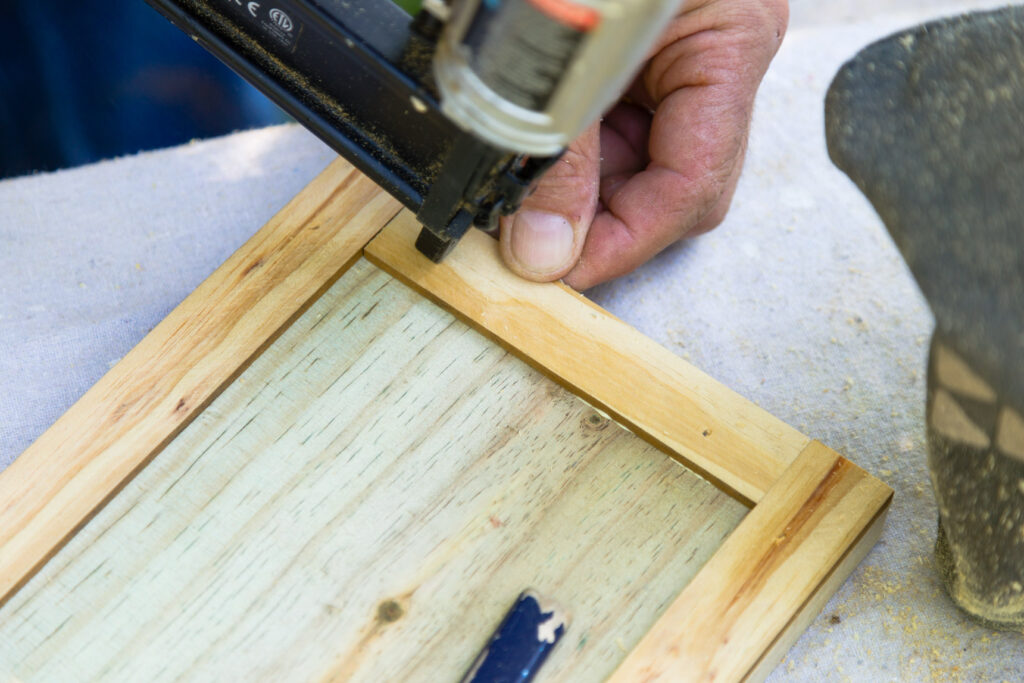

Staple trim in place
Cut three strips for the top, middle, and bottom vertical pieces: glue and nail. Repeat this process for the center trim.


Mark the center trim piece
Sand rough edges if needed and apply water seal.


Applying water seal
Simple DIY shutters built in less than 60 minutes can add value and beauty to your home’s exterior.


Set of Shutters ready to install
Installing the Exterior DIY Shutters
Hang with trim screws. Add spacers if hanging on the vinyl side to prevent crushing the siding.
Note: If you are installing your DIY shutters over brick predrill into a mortar joint, add screw anchors. Attach with 2″ trim screws.


Upper install block
We made our install blocks the same depth as the vinyl siding but cut them an inch shorter than the shutter’s width. Install the blocks in the lowest area of the siding.


Install blocks for DIY shutters


Attach DIY wood shutters


Adirondack chair, window flower box, and DIY exterior shutters
If you are ready to plan your dream outdoor space, please join me as I create the “Best Life Now” in our gardens (join HERE).
You might also enjoy these DIY projects:
See you soon,
Kippi