Easter is almost here, and it is the perfect time to make adorable Easter Gnomes.
Gnomes are my favorite crafts, such as my DIY Gnomes, Gnome Ornaments, Gnome Pillow, and Christmas Gnomes; they add whimsy to my home decor.
Gnomes make everyone smile, so what not make some for Easter?
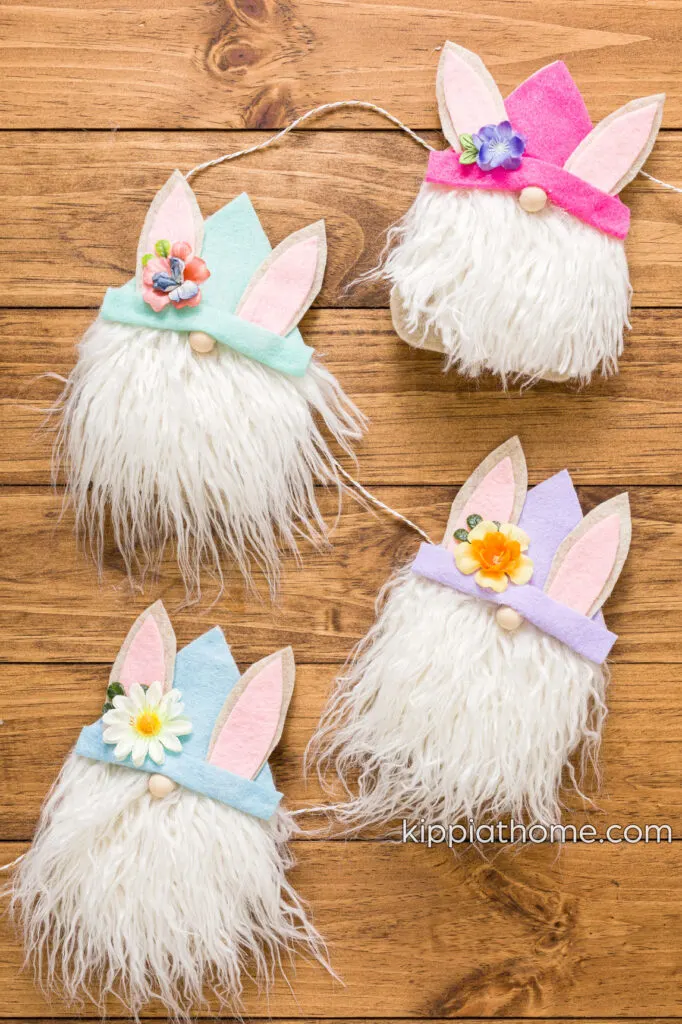
Easter Gnomes
This post contains affiliate links. If you purchase from one of these links, I will make a small commission.
How to Make Easter Gnomes
These adorable little Easter Gnomes are super easy to make, so I made a ton and used them for a Gnome garland.
Easter Gnome Supplies
😀I recommend watching the How-To make an Easter Gnome video before beginning.😀
- Felt (tan, hot pink, light pink, green, blue, and violet)
- Pattern (FREE printable pattern)
- Scissors (these are my favorite scissors ever)
- Sewing pins
- Faux fun
- Craft knife
- Water-soluble makers
- Cutting mat
- Silicone mat
- Hot glue and glue sticks
- Wooden bead
- Floral
- Fiberfill
- Baker’s Twine
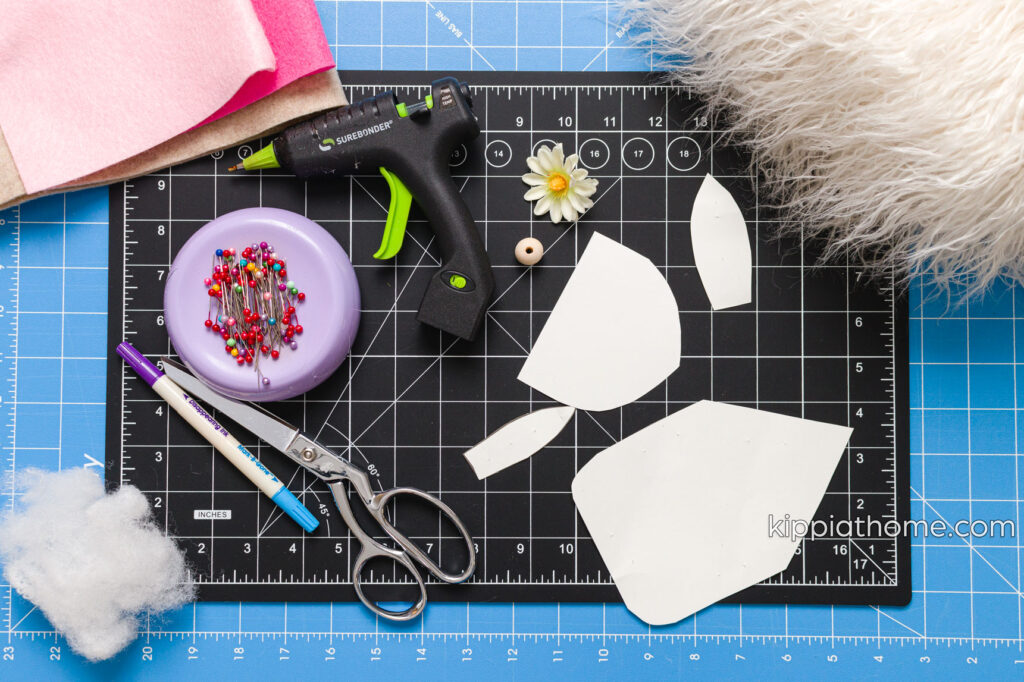

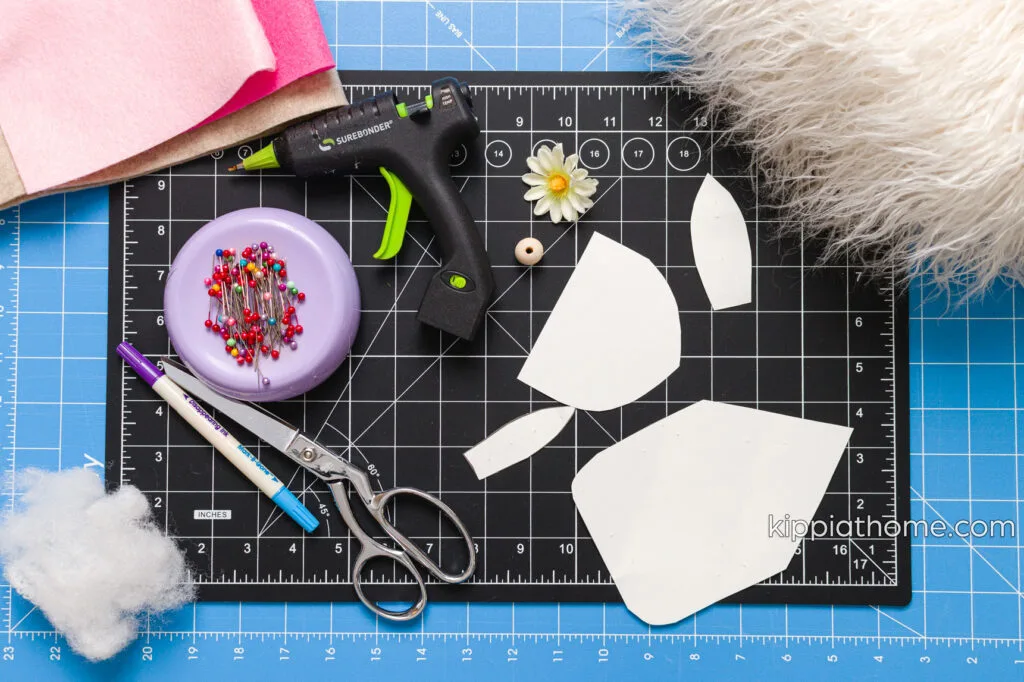

Easter Gnome Supplies
Cut Easter Gnome Fabric
After I printed out my pattern, I used paper scissors to cut them out.
Then I pinned the body pattern piece to the tan felt (folded over) and cut around the pattern.
Next, I cut out all the other pattern pieces according to the directions on the printed pattern pieces.
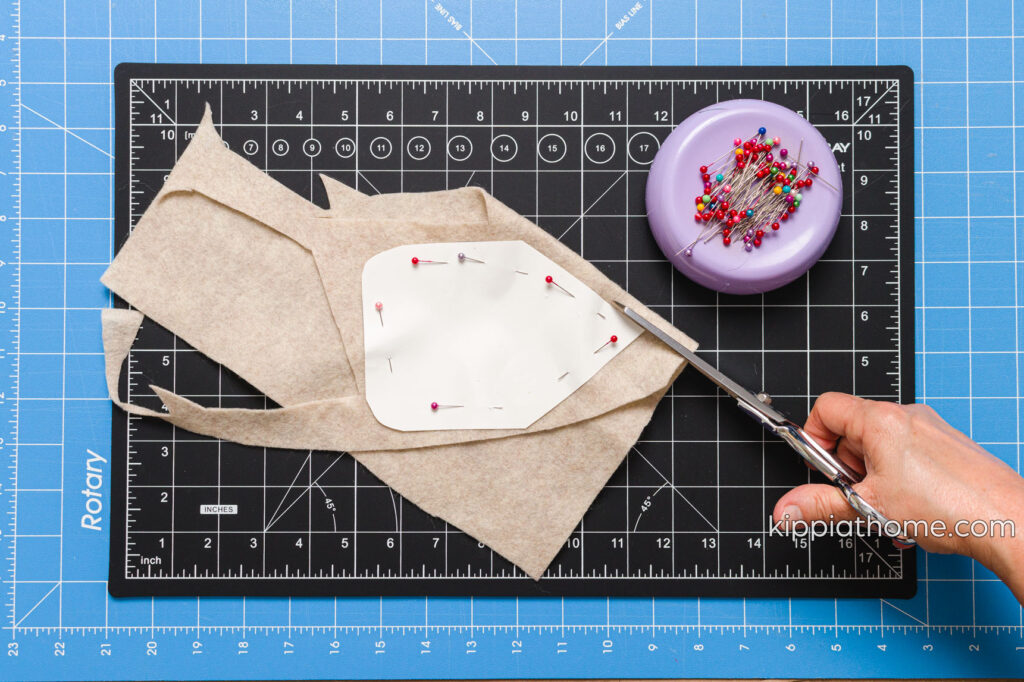

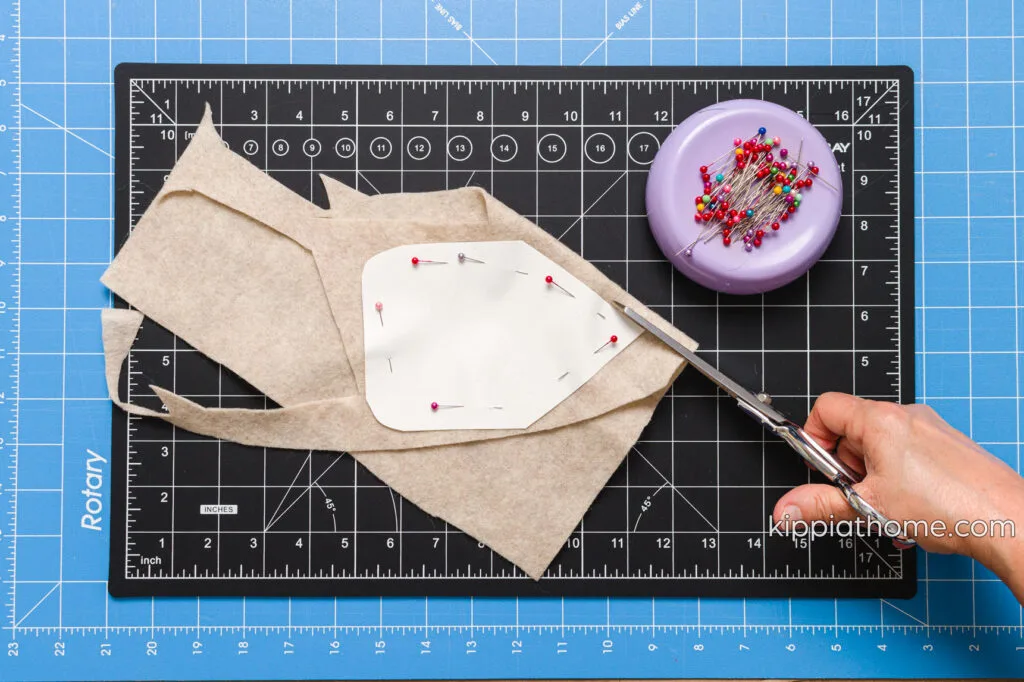

Cut felt pieces
Next, I used a fabric marker and traced around the beard pattern on the faux fur. Note: be sure the fur’s nap is in the correct direction before tracing the bread.
I used a Xacto knife to cut out the beard so that I could carefully cut just the base fabric and not the fur.
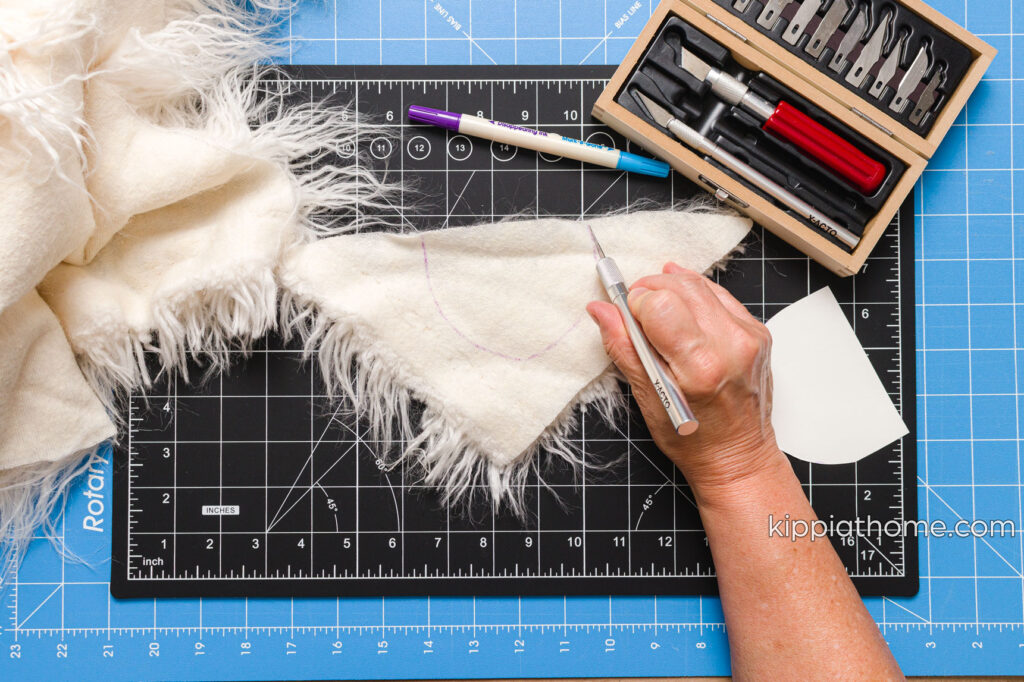


Faux fur
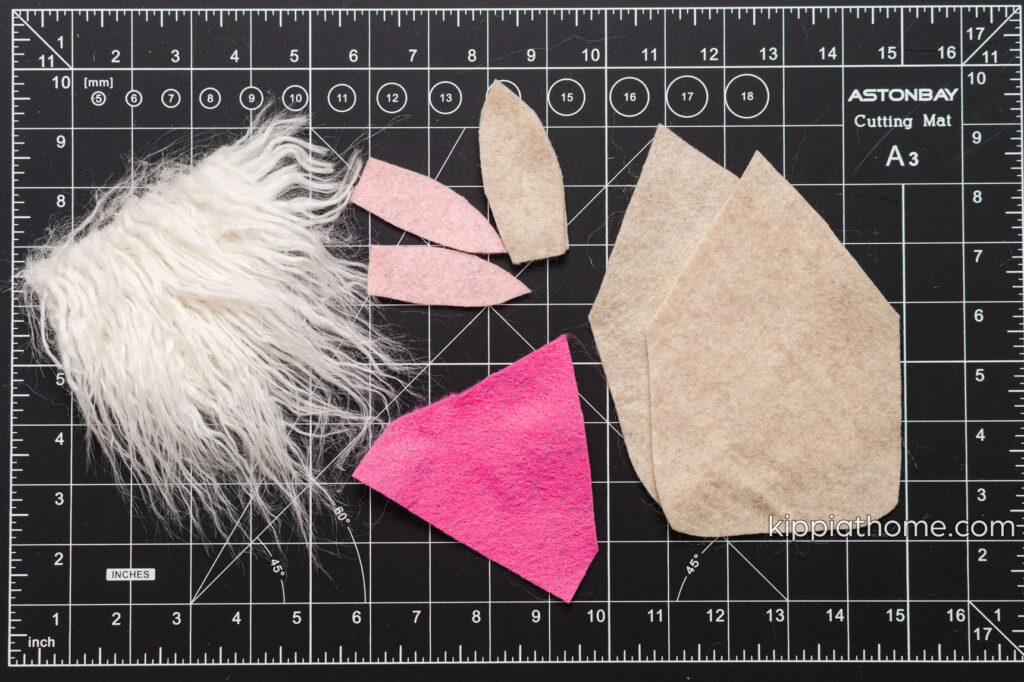

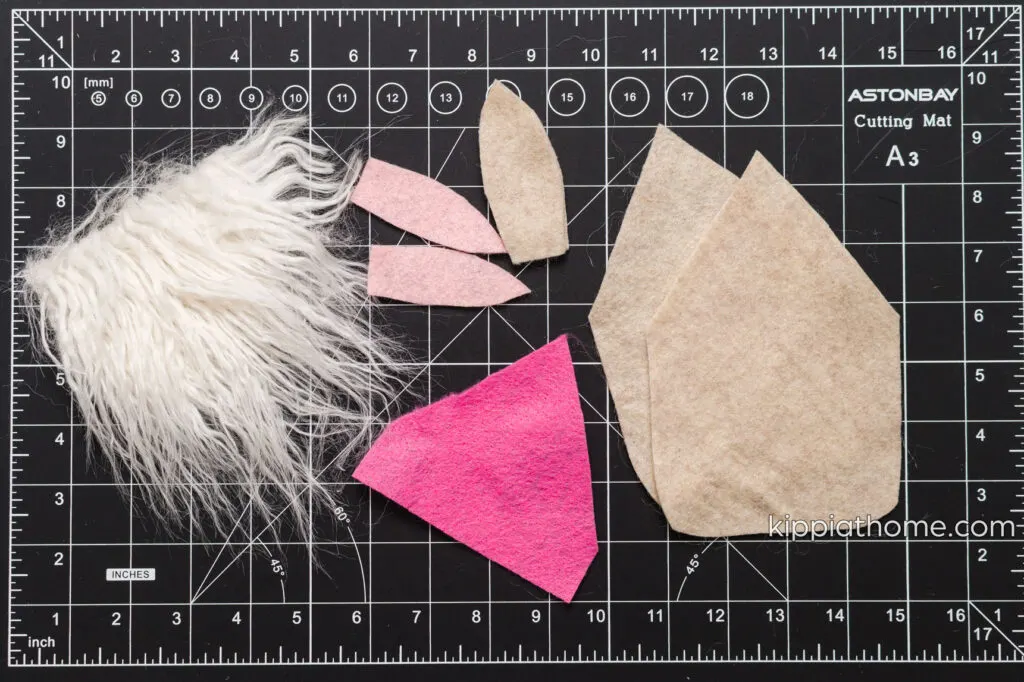

Gnome pieces
Assembling Easter Gnome
I used hot glue; however, you could sew the pieces together with the blanket stitch or a running stitch.
Place a glue line along the top of the beard, then place it between the side points of the tan felt body piece.


Glue fur
Attach the nose (wood bead) in the center top of the beard with hot glue. Note: be sure the nose sits just over the fur; as a result, your gnome nose will be seen peeking out under the hat.


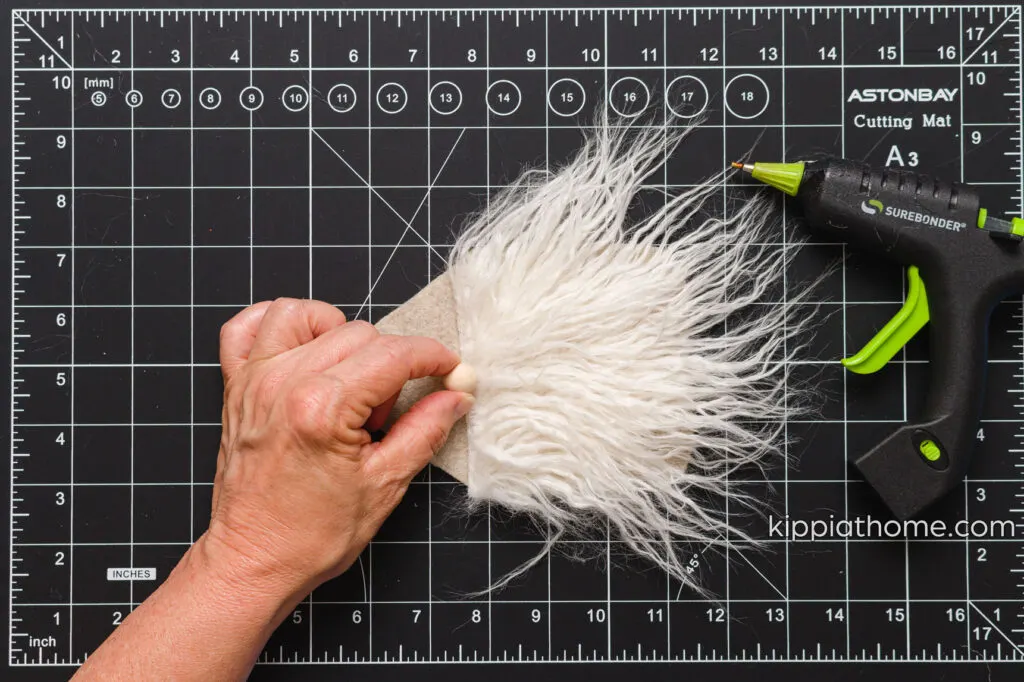

Attach Easter Gnome nose
Next, I attached the hat by gluing only from the side points to the top hat point, thereupon leaving the “cuff” and brim open.


gnome hat
Creating the Ears
I glued the pink inner ears in the center of the ears to create the Easter Bunny ears, aligning the straight edges.
Note: I pinned the hat cuff to help me visualize the ear placement.


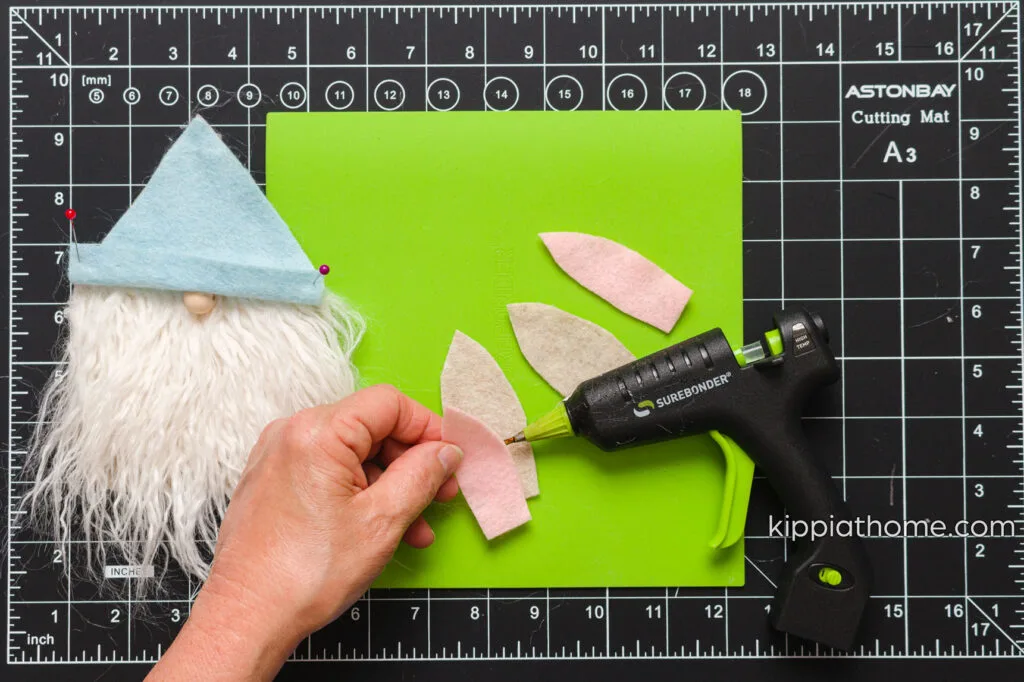

Inner ears
Note: You want to position the ears on the hat to be under the cuff.
Once satisfied with the ear placement, I glued them in place.
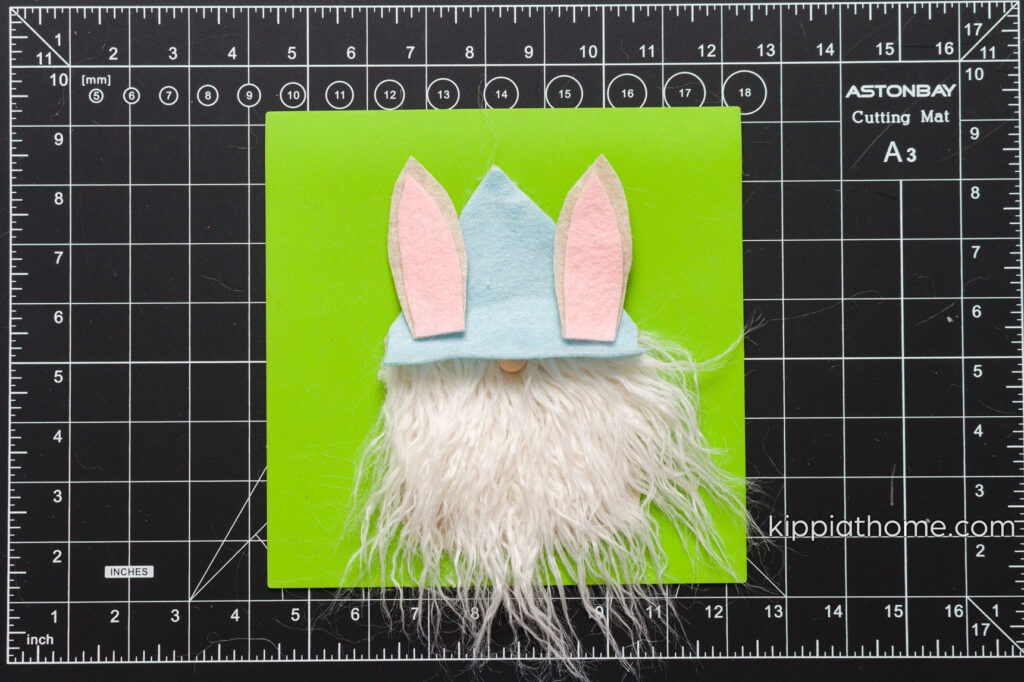

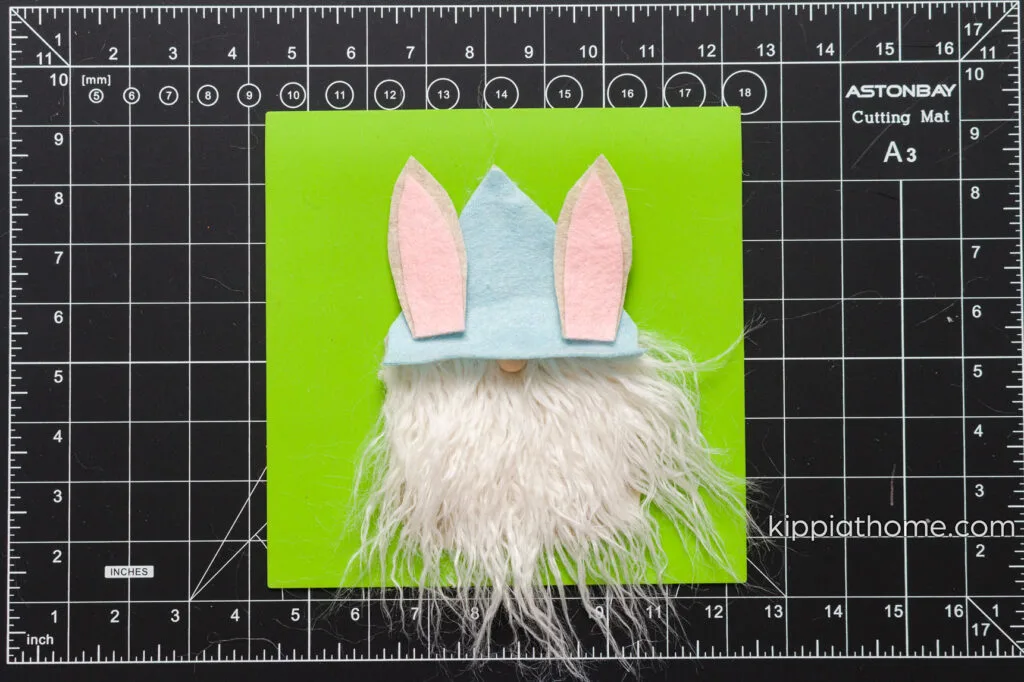

Attach ears
Stuffing
I ran a glue line (about 1/4″ from the cut edge) to stuff my bunny and quickly placed the back body piece over the glue.


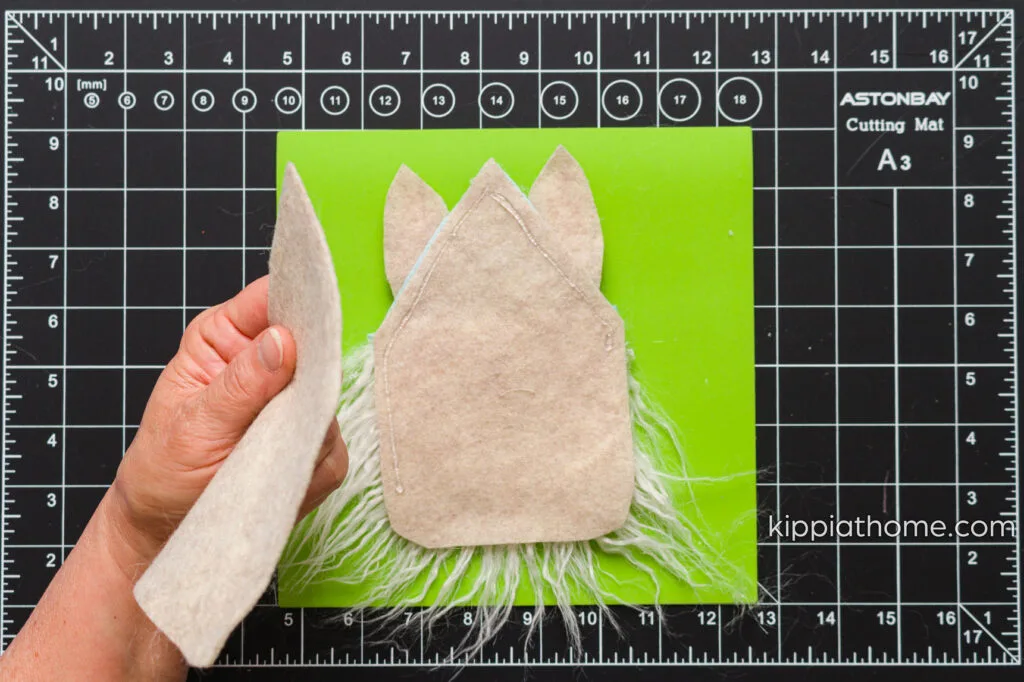

Glue front piece
Next, I placed a small amount of fiberfill into the opening of the bunny. Then I glued the body closed.


Adding stuffing
T
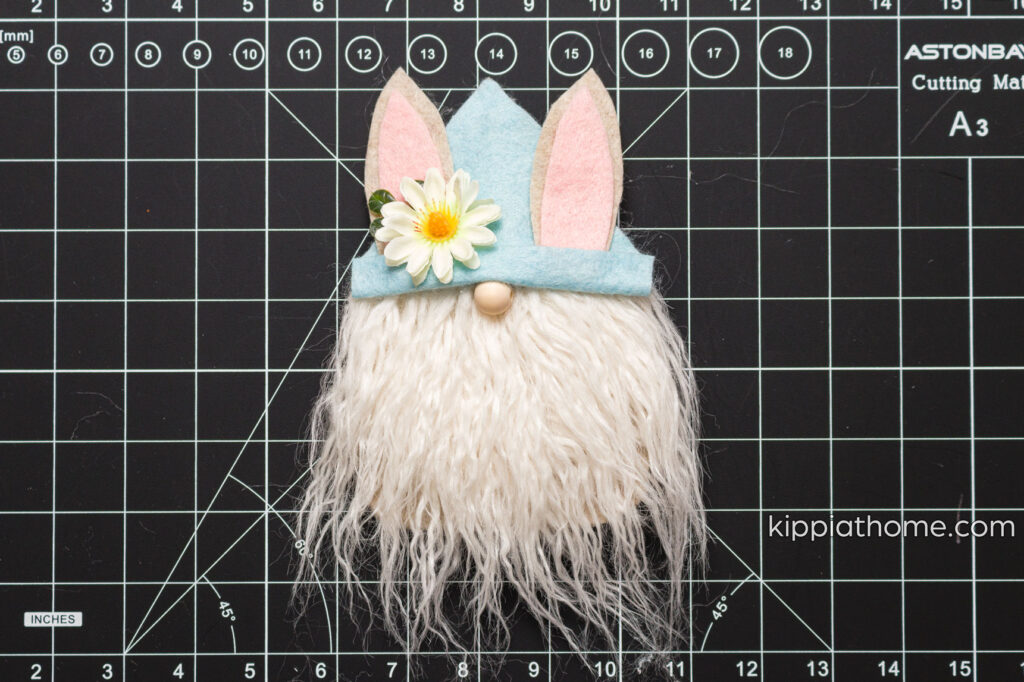

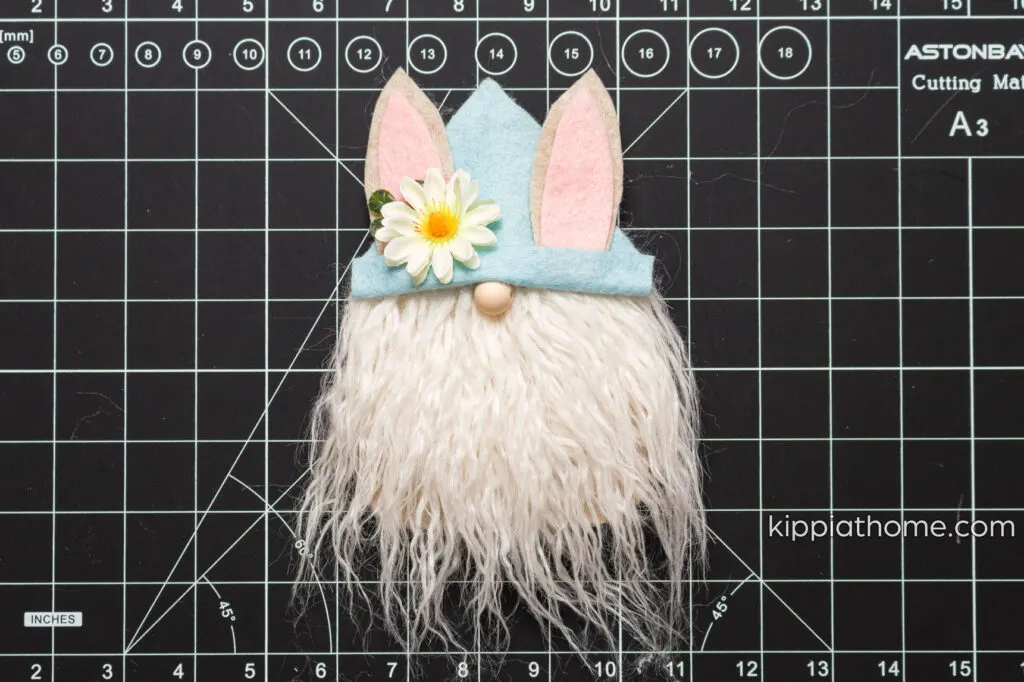

DIY Easter bunny gnome
DIY Easter Bunny Gnomes make an adorable garland perfect for your Easter decor.


Easter Bunny Garland
More Easter Crafts You Might Enjoy:
Gorgeous Decoupage Easter Eggs.
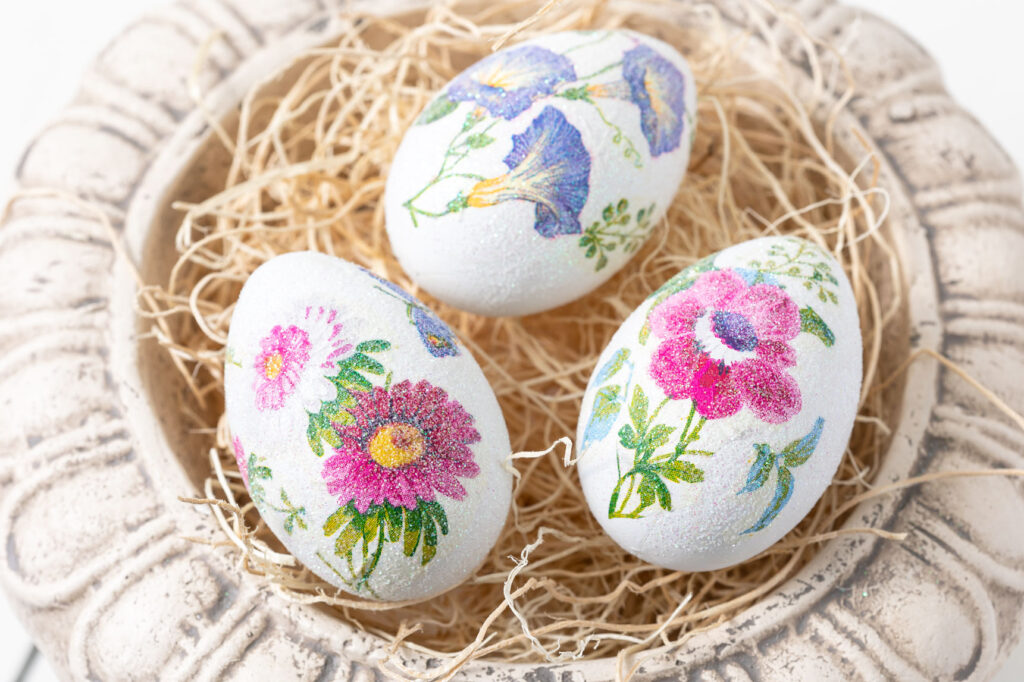


Decoupage Eggs – Napkins
50 Easter Crafts that are sure to inspire you.


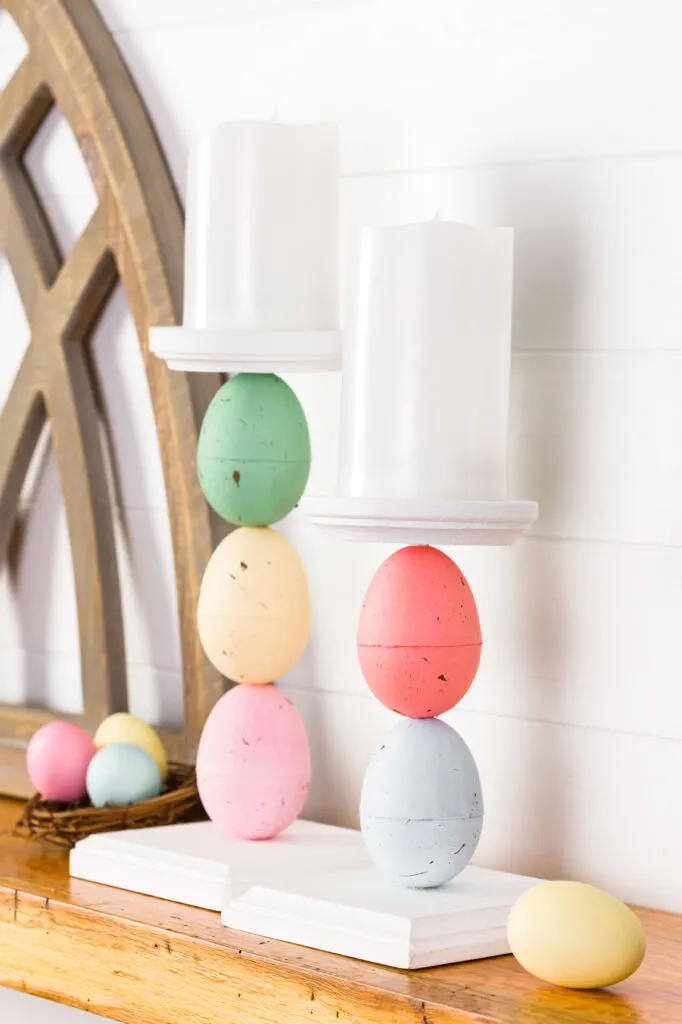

Egg candle
Want More Crafting Inspiration?
Please join me (HERE) as we craft up some fun. You can look forward to receiving new inspiration every week.
See you soon,
Kippi

Jennifer
Tuesday 14th of June 2022
How do you attach the twine to make into a garland? How many inches between each gnomes?
Brooke Fedigan
Thursday 31st of March 2022
These are perfect for Easter! They turned out wonderful. I will be pinning to my Holiday Easter Board. Happy Easter!!
Marie
Monday 28th of March 2022
So clever Kippi! I'm getting excite for Easter :)
Maureen
Monday 28th of March 2022
Oh my gosh! These are adorable!
Sara
Monday 28th of March 2022
Your gnomes are always so adorable; love these for Easter!