Every artificial Christmas tree has a different stand, and none of them are attractive, so I decided to build a Christmas Tree Box Stand to fit each tree’s stand and size.
You can see how I decorated this Christmas Tree in this earlier post. I made all the small embroidery hoop, wood bead, and bulb ornaments.
I used tree skirts in past years, but they take up too much space or don’t fit the area where I want to use my trees.
How to Build a Christmas Tree Box
Building a DIY Christmas tree box is an easy woodworking project even for beginners. You can paint your box (like this one) or stain it to match your decor, but either way, they are gorgeous. I decided I wanted the same stain as my blanket ladder and the wooden Christmas trees, so they all coordinated.
You can also customize your side panels with X’s, cutouts, or paint.
If your living room is small, you might want to use a small Christmas tree, such as a slim or artificial pencil tree with a smaller box.
You can use a stand collar or box for a live tree as well.
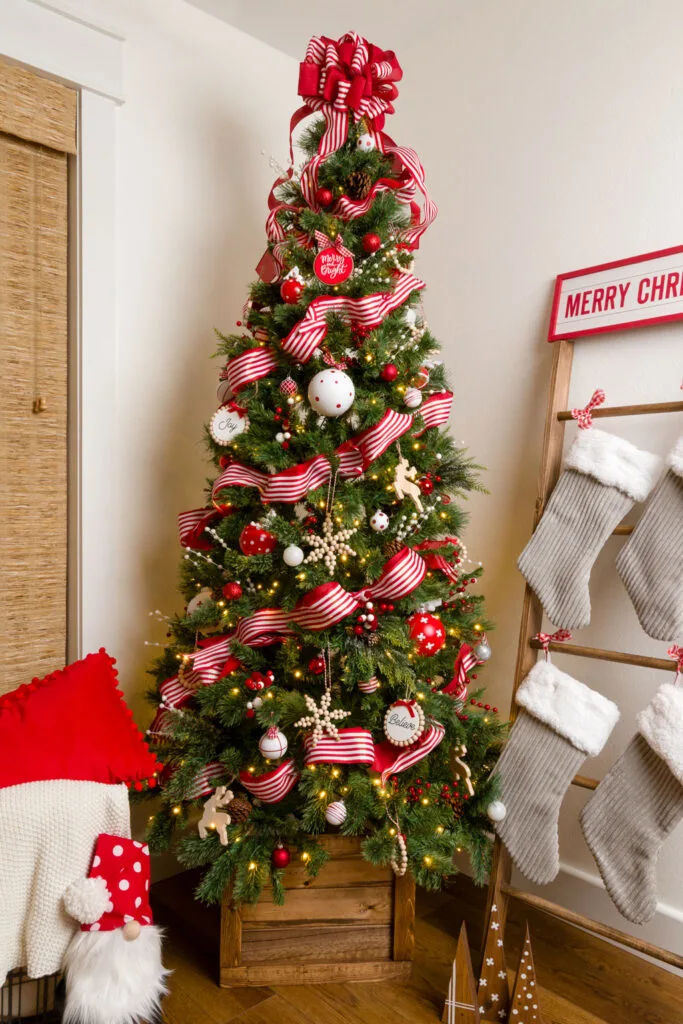
Christmas Tree Box
This post contains affiliate links. Therefore when you purchase from one of these links, I will make a small commission.
Tree Box Tools and Supplies
The tools for this project are items you probably have on hand.
The wood you choose can be scrap wood, pallet wood, pine, oak, etc.
I used scrap wood to build this box since we had a large pile of shiplap leftover from our bedroom makeover.
Tools:
Saw
KREG pocket hole guide with a drill bit
Measuring tape
Wood pencil
Supplies:
1x2x8 pine
Shiplap planks pine (this is similar to what I used)
1-inch wood screws
1/2″ staples
Wood Stain (this is the one I used)
½” plywood
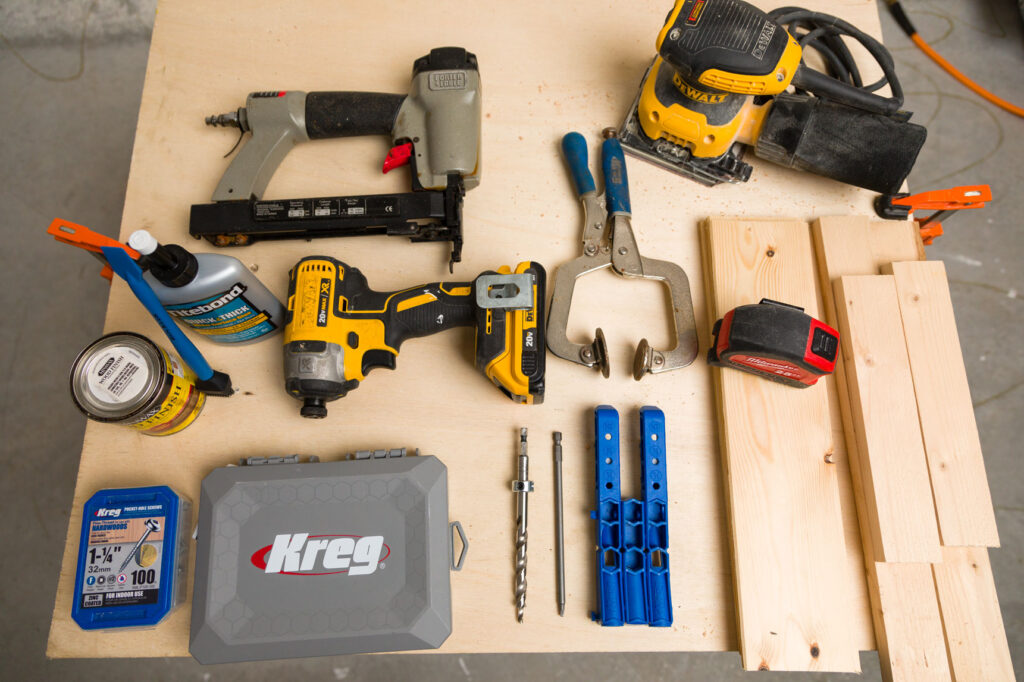


Christmas tree box supplies
DIY Christmas Tree Stand
Wood Cuts
Using a miter saw or table saw, cut your lumber for the box sides:
Cut eight @ 1x2x17 for the top and bottom face frame boards
Cut eight @ 1x2x9 for the left and right face frame boards
Twelve shiplap boards are cut at 15″ long each.
Cut two @ 1x2x14 (base – bottom frame)
One cut at 1x2x15.5 (base – bottom frame)
Cut one @ 17×15.5 from 1/2″ plywood (base – bottom frame)
Before moving to the next step, I used a wood pencil and placed an X on the wrong side of the wood. Then, I choose the best side for the front side of the frame.
Note: The size of your box frame will determine the length of the filler boards. In other words, the boards need to cover the opening in the frame plus one.
Then you will have a half-inch overlap onto the frame along all four edges.
Assembling the Frame
To assemble the sides, I drilled one pocket screw hole in each of the 9-inch frame boards. I used the Kreg pocket screw kit to make my pocket screw holes.
Note: These holes will be on the inside of the box.
Note: I recommend building each side assembly separately.
Then I applied wood glue to the cut ends of the frame boards (2 each of the 9″).
To build your side frame, start with the 17″ boards on the top and bottom, then butt the 9-inch boards’ (so they are inset) against the 17″ boards.
Clamp the joint, then use a drill with a driver tip screw in the pocket screws.
Note: There are four screws for each side frame.
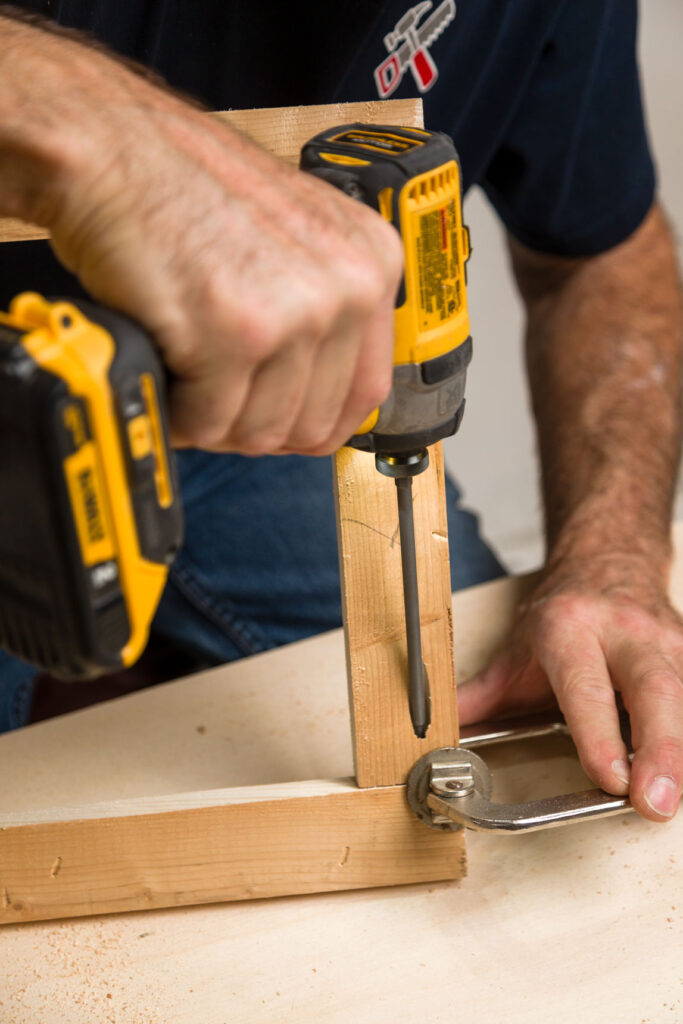


Assembling the box face frame
Repeat the side frame building process for the other three sides.
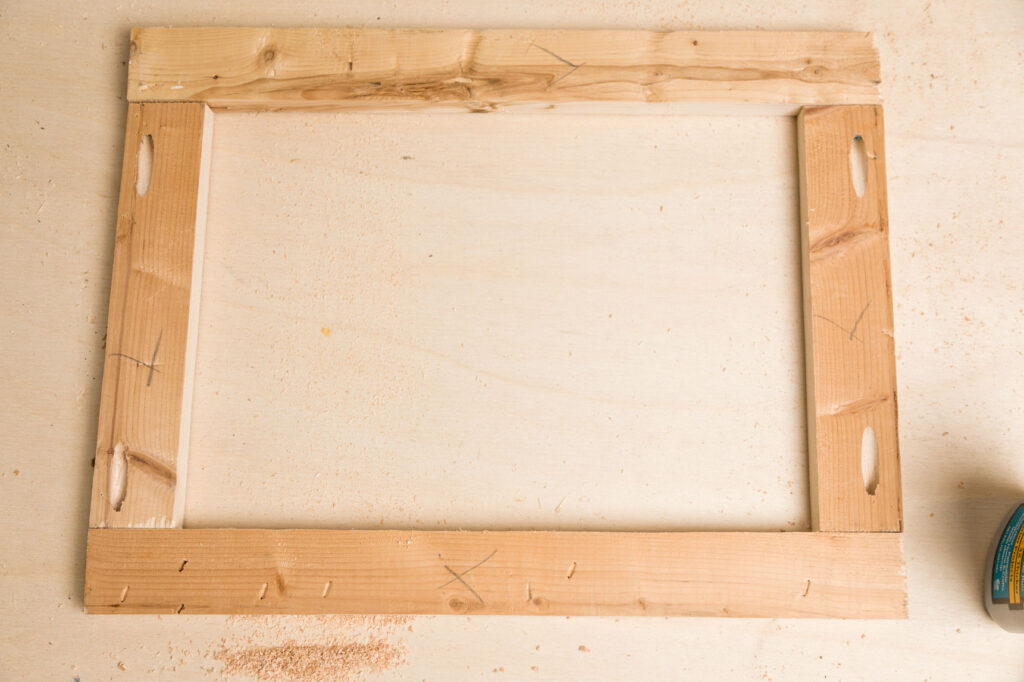


Assembled Tree Box Frame
Side Panel Filler
You can fill your frame with various types of wood. However, I choose shiplap from our scrap woodpile.
For this box, I cut 12 shiplap boards cut at 15″ long each. However, you can customize the size to accommodate your tree stand.
Cut shiplap boards to cover the opening in the frame so you will have a half-inch overlap onto the frame along all four edges.
I used a measuring tape to determine the centers of the side frames then I marked the centers on the frame edge and the filler boards.
Then I marked the 1/2-inch overlap where to place the first horizontal filler board.


Marking the centers
Next, I applied wood glue on the area where I would attach the first filler board. I used a glue brush to spread the glue evenly.
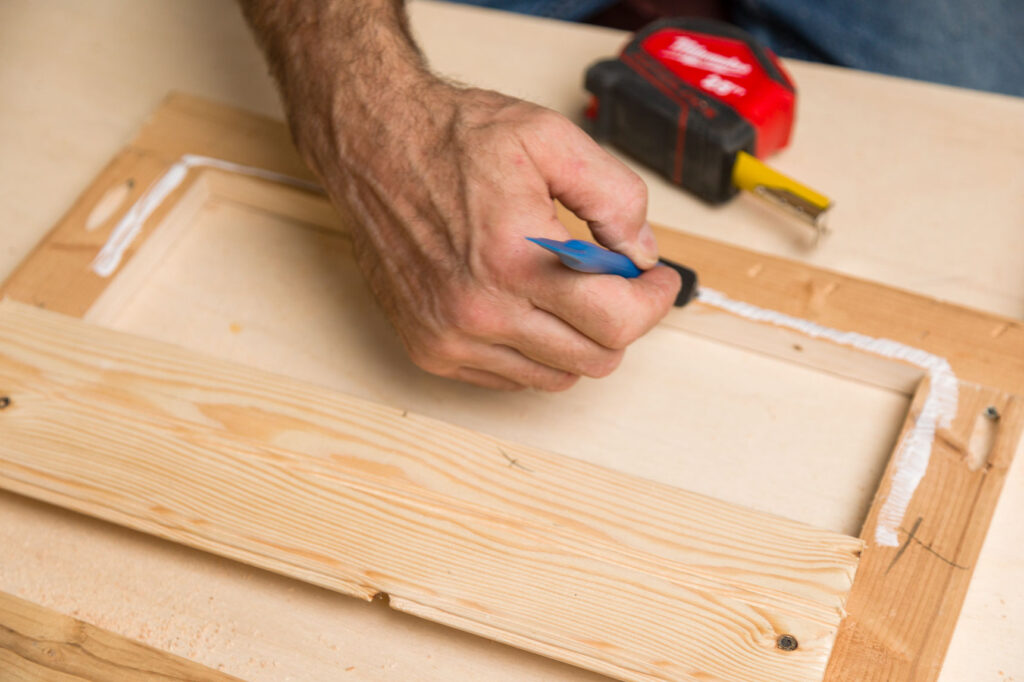

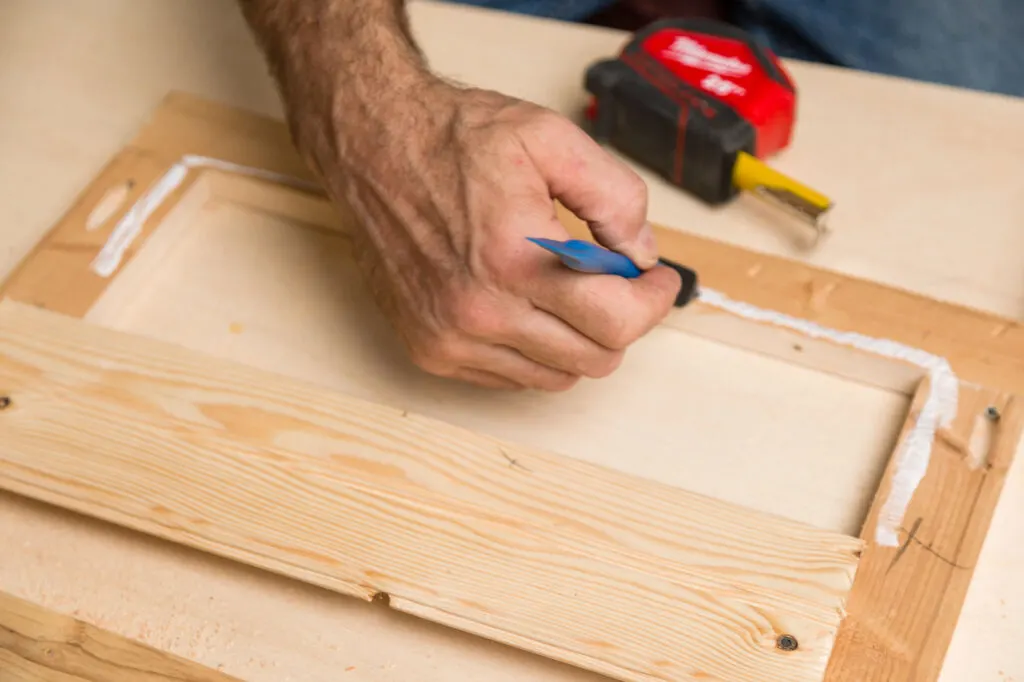

Apply wood glue
Next, I will align the filler board center mark to the frame’s center mark and the 1/2″ horizontal line.
Then I will staple the board in place (add two staples in the ends and three across the top for the first and last filler boards).
Repeat the process for the following two filler boards.
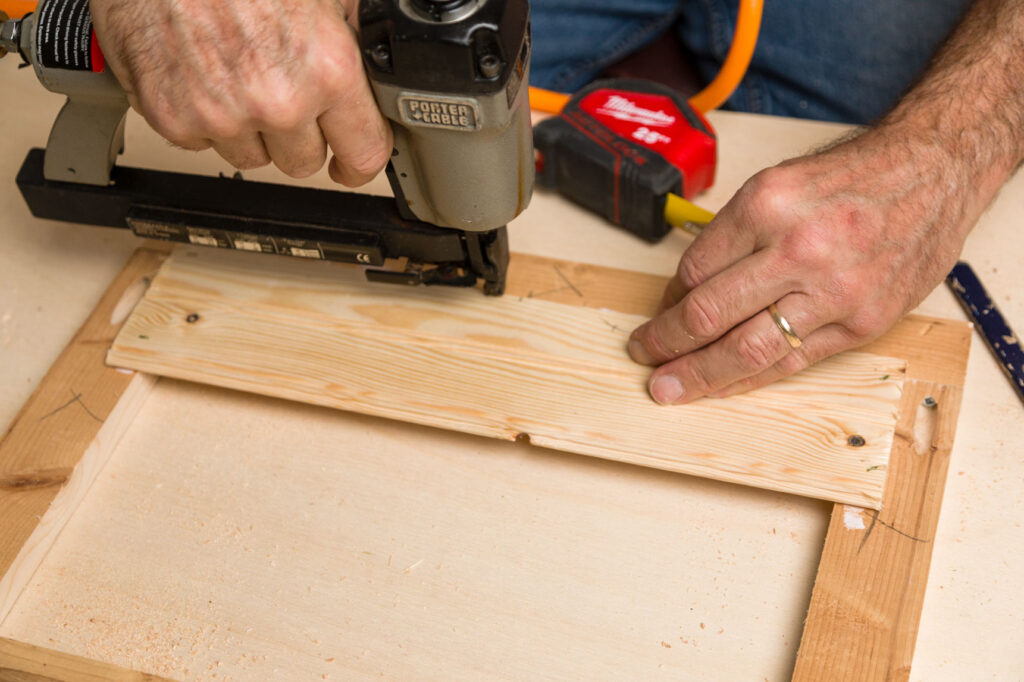


Staple filler boards to frame


Finish adding filler boards


Finished side panel
After building all four side panels, I used a palm sander and sanded the frames.
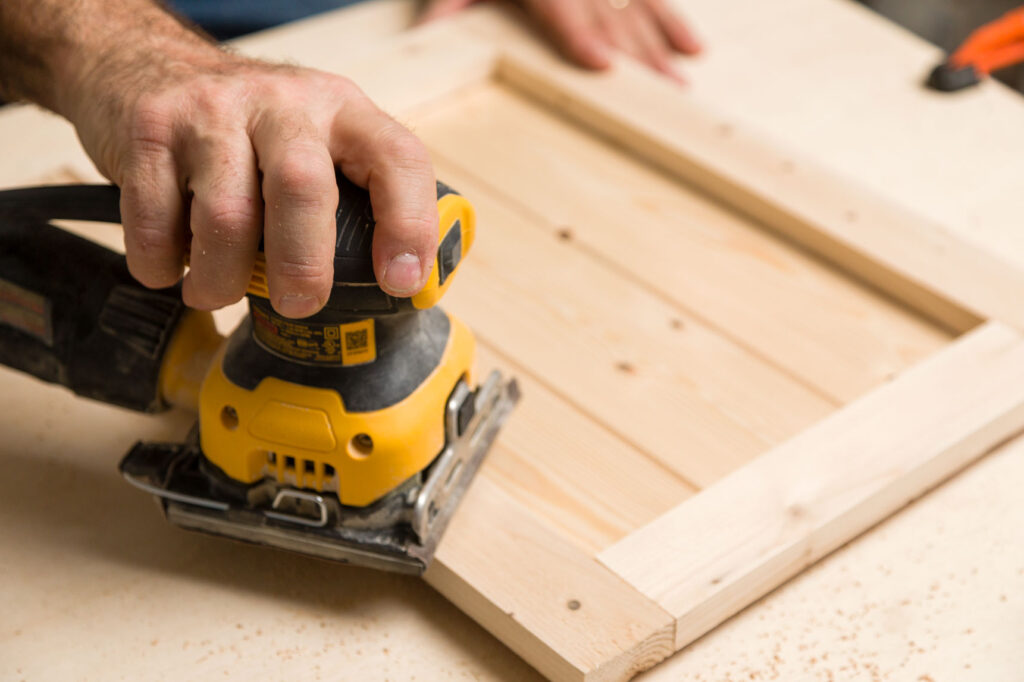


Sand side panels
Note: At this point, you can stain or paint.
I stained the other three sides and left this one plain wood for my process photos.
Assembling the Box Sides
The first step in assembling the box sides is adding four-pocket screw holes in two side panels (at the top and bottom of the sides).
To assemble the box, I attached the side panel with pocket screws (with a driver tip) into two-pocket screw holes butting the sides together.
Note: I added a small line of glue on the joint before screwing the sides together.
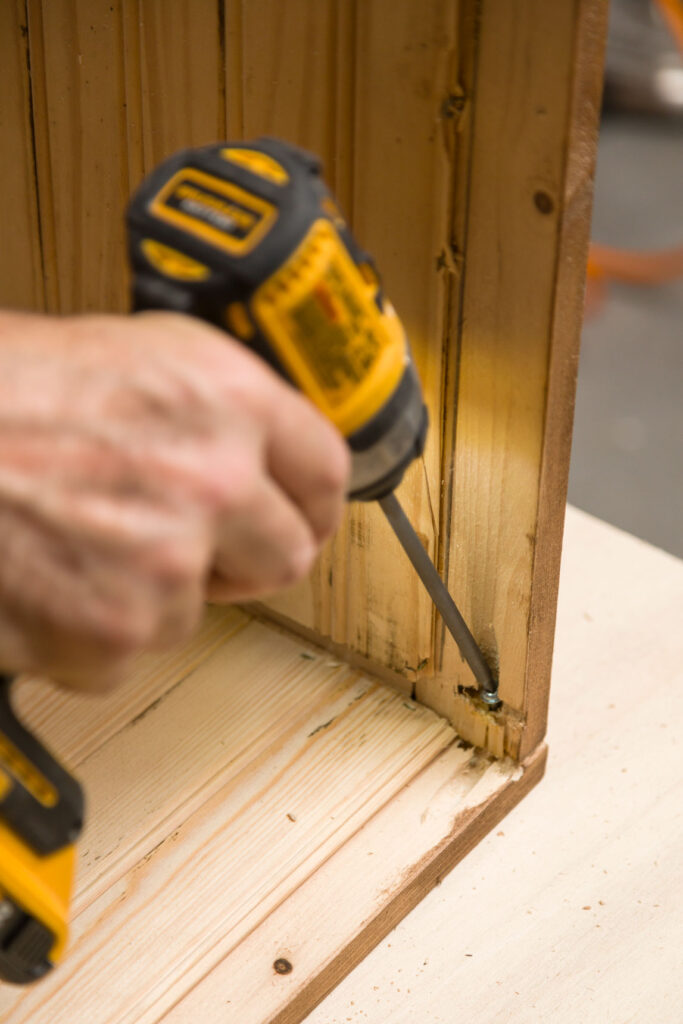


Attach side panels
Building the Box Base (Bottom)
To assemble the bottom of the box, I built a frame out of 1×2’s butted screwed them together.
Then I pre-drilled the screwed holes in the plywood to the top of the frame.
Aligning the screw holes in the plywood to the frame top, I screwed in the screws.
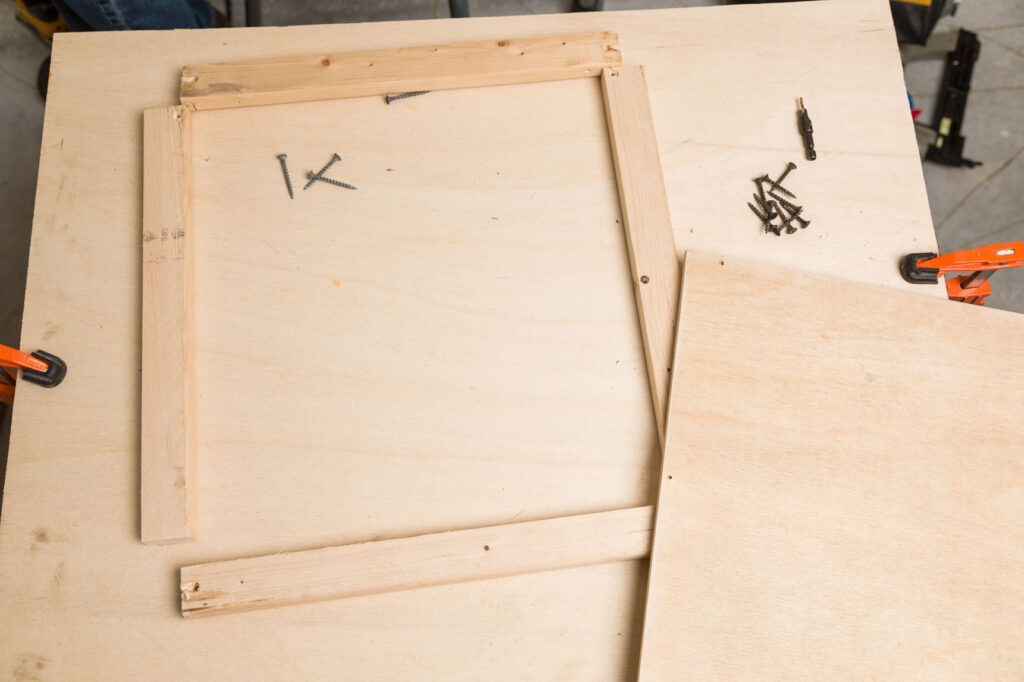


Box base frame
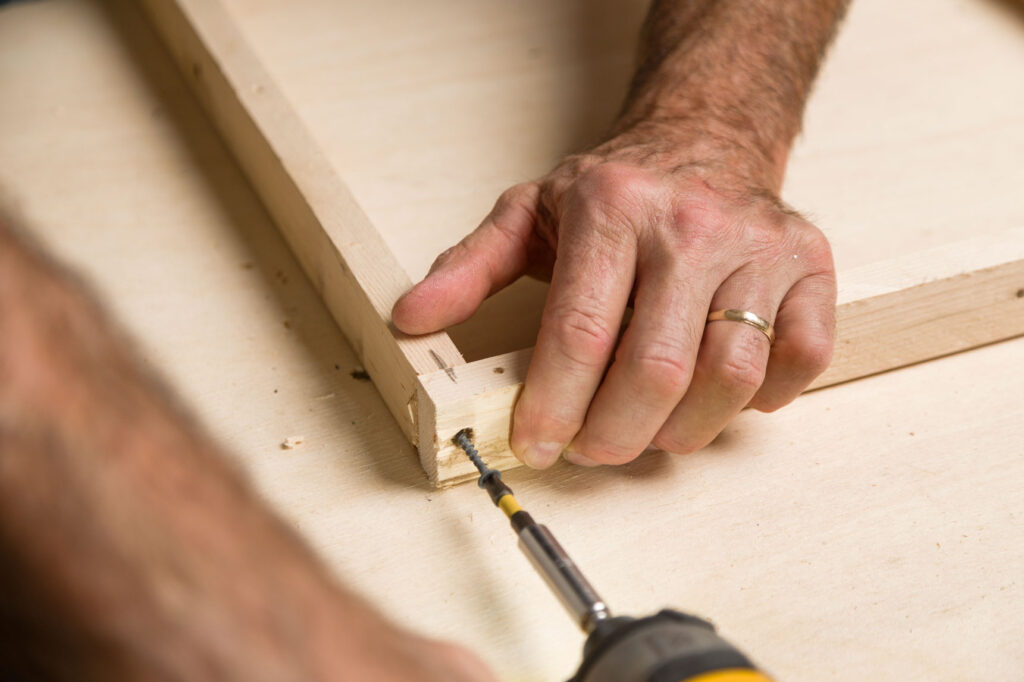


Assembling the frame
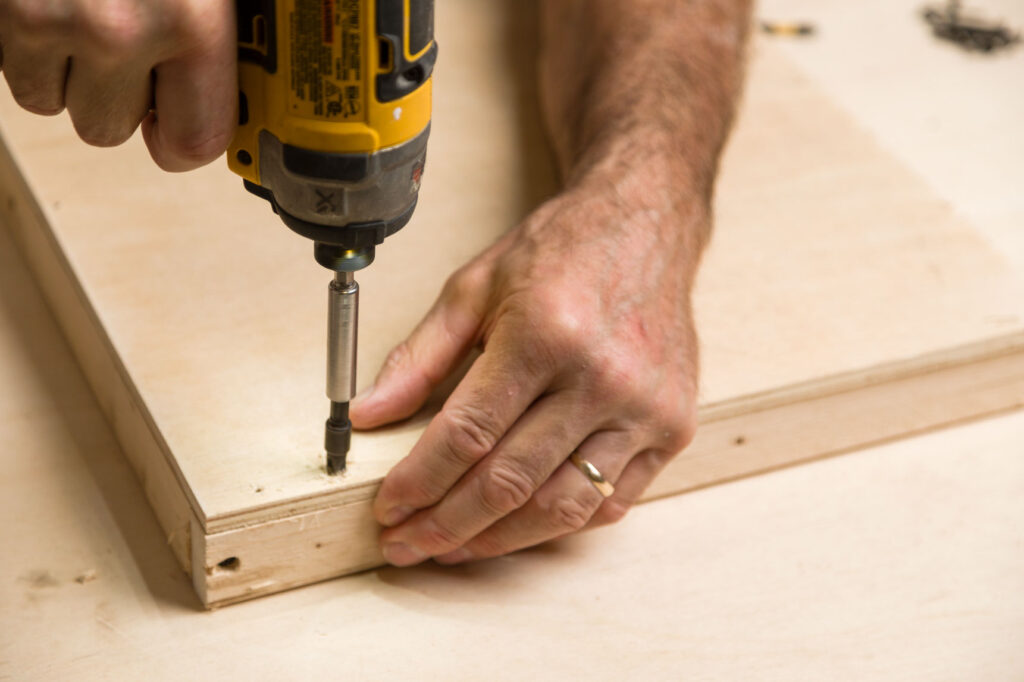


Pre-drill bottom and bottom frame


Box bottom
I installed the box bottom to accommodate the height of my tree. Therefore, I had to offset the box bottom from the bottom of the sides.
Note: I had to mark the placement and check for level before screwing the bottom in place.


Attach box bottom
Staining the Tree Box
I have found that using a piece of foam is the best way to apply stain. Also, I wear gloves to prevent staining my hands too.
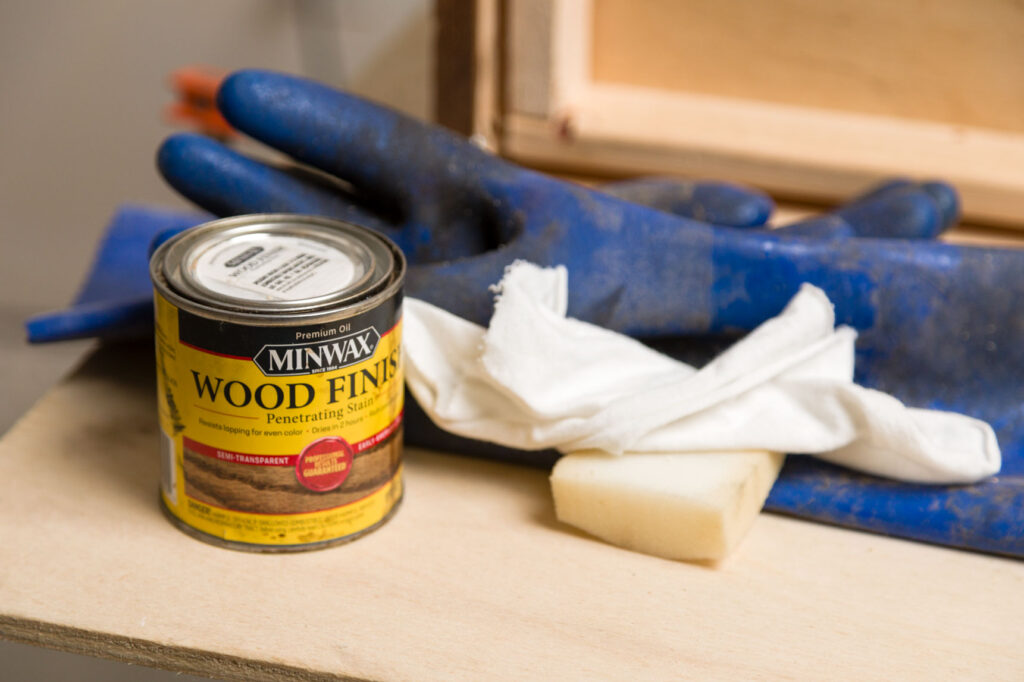


Supplies for staining
To start the staining process I apply a generous about of stain and use the foam to work some stain into the corners, edges, and grooves between the wood. I allowed the stain to sit on the wood for 15 minutes per the stain’s instructions before using a cotton cloth to remove the excess.
Note: Read the directions for the stain or paint product you are using to determine the correct method for that product.
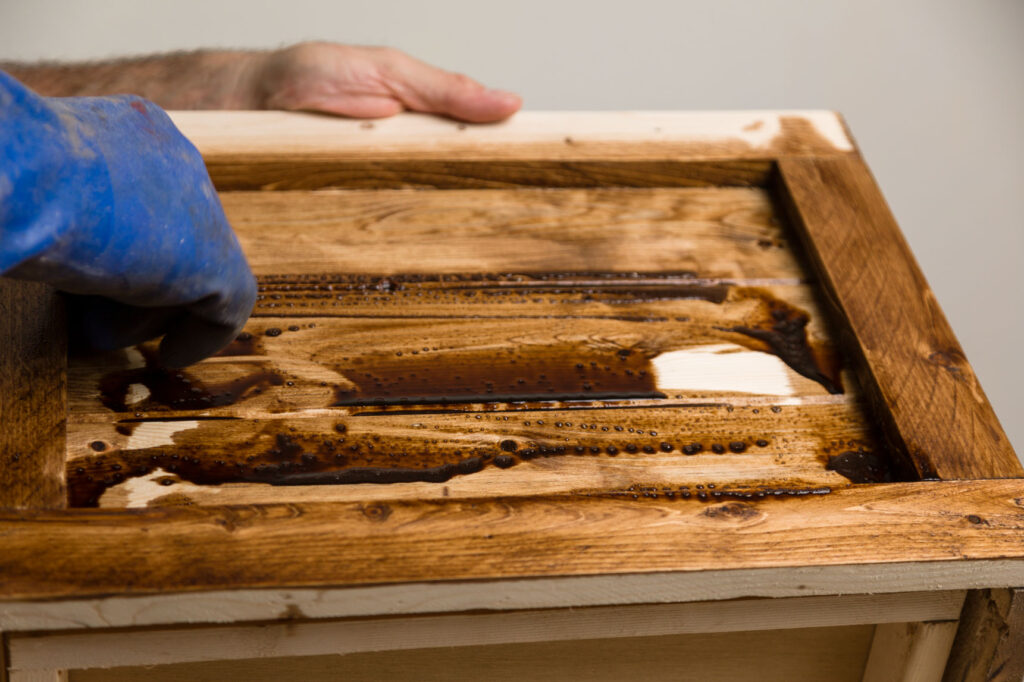


Staining the wood tree box
Small Tree Box Stand Tutorial Video
You can see how I decorated this tree in this Christmas Home Tour.
More Easy Woodworking Projects:
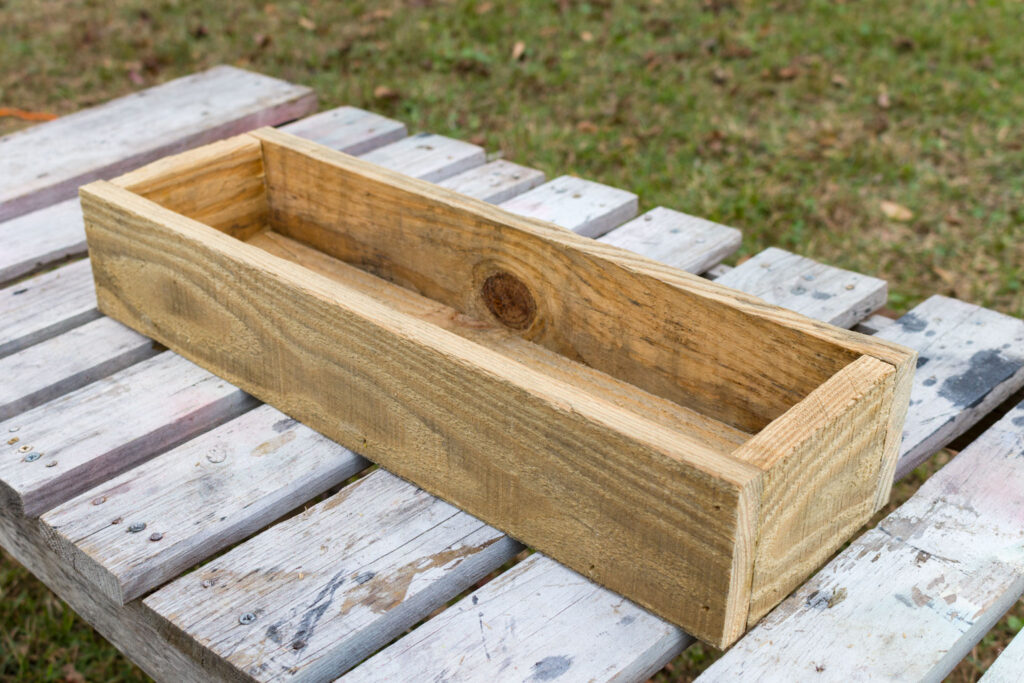


Pallet wood DIY Centerpiece box


Window flower box
Want a Stress-Free Holiday???
Want to enjoy all the holiday season has to offer? Are you feeling overwhelmed when you think of the holidays?
Join me as we enjoy a stress-free holiday season. I will send you emails loaded with a ton of inspiration, money-saving ideas for decorating, gift-giving, and so much more.
Please join HERE! And have the best of everything this holiday. Have a Merry Christmas, and enjoy all the blessings of the season!
Merry Christmas,
